Friday, March 25, 2016

Week in Review 2016 - 03/25


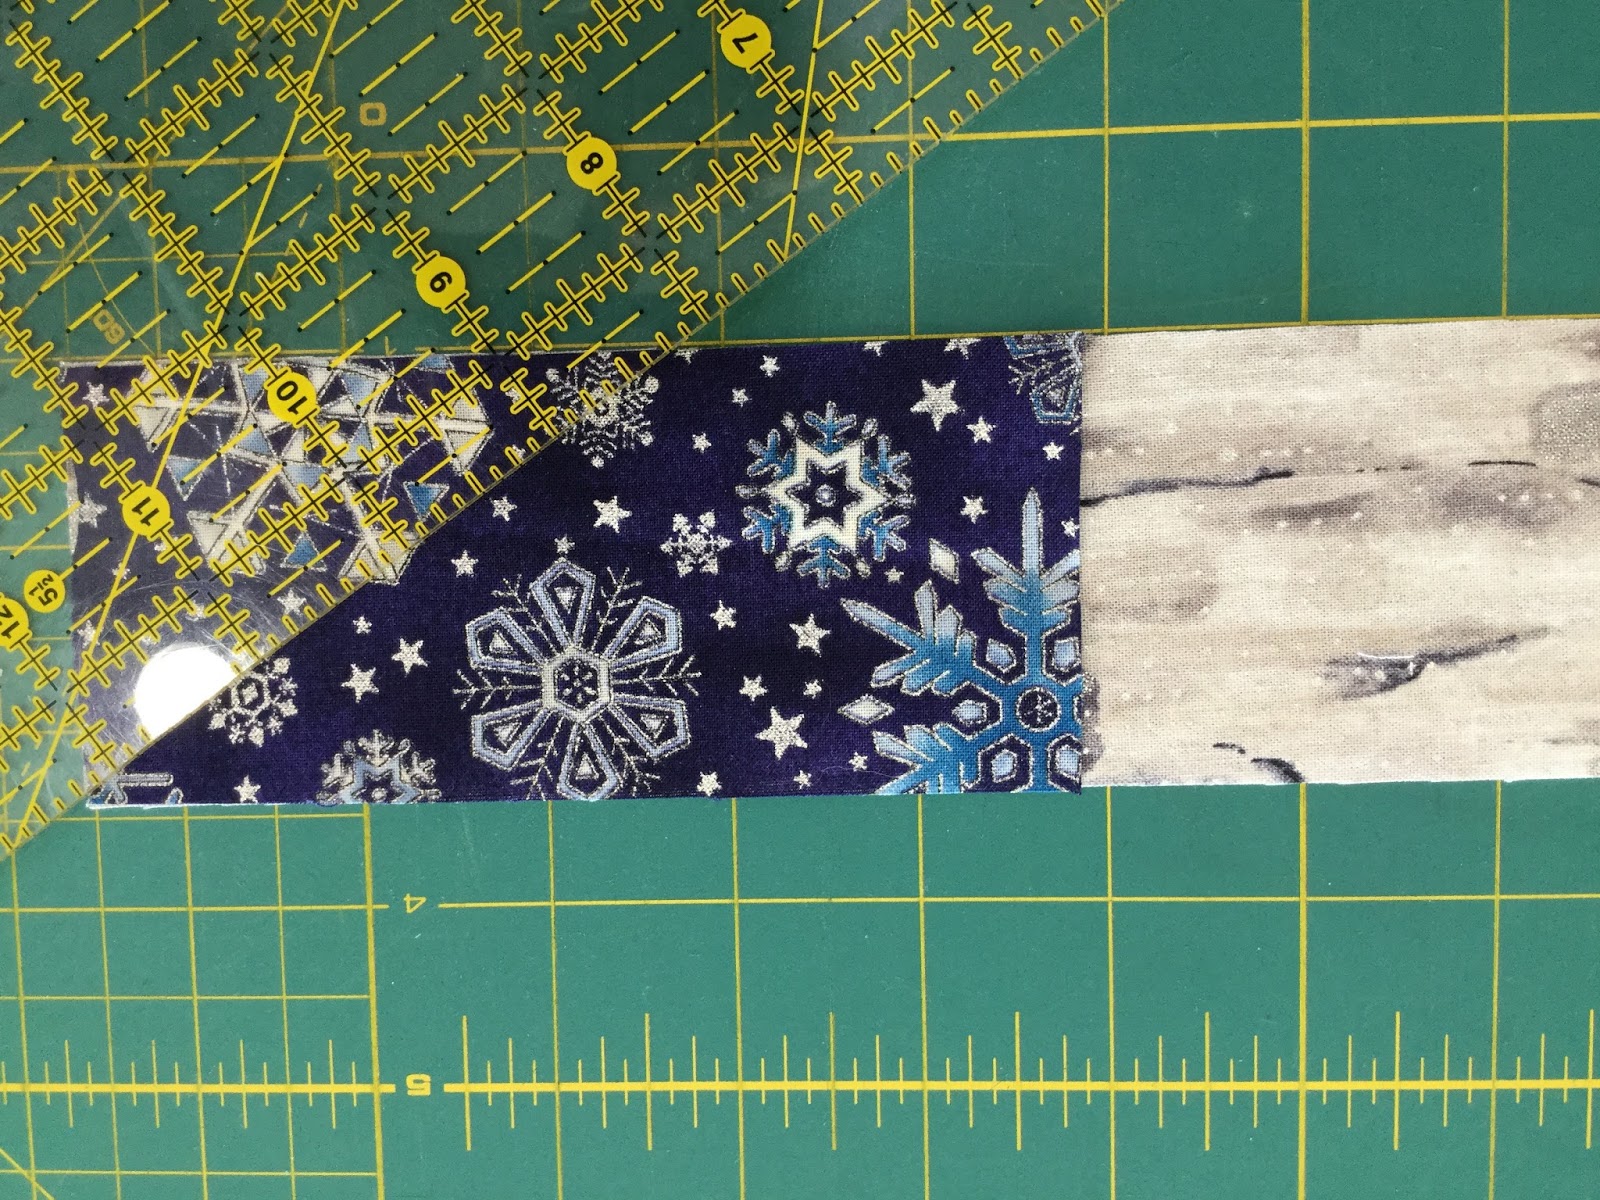
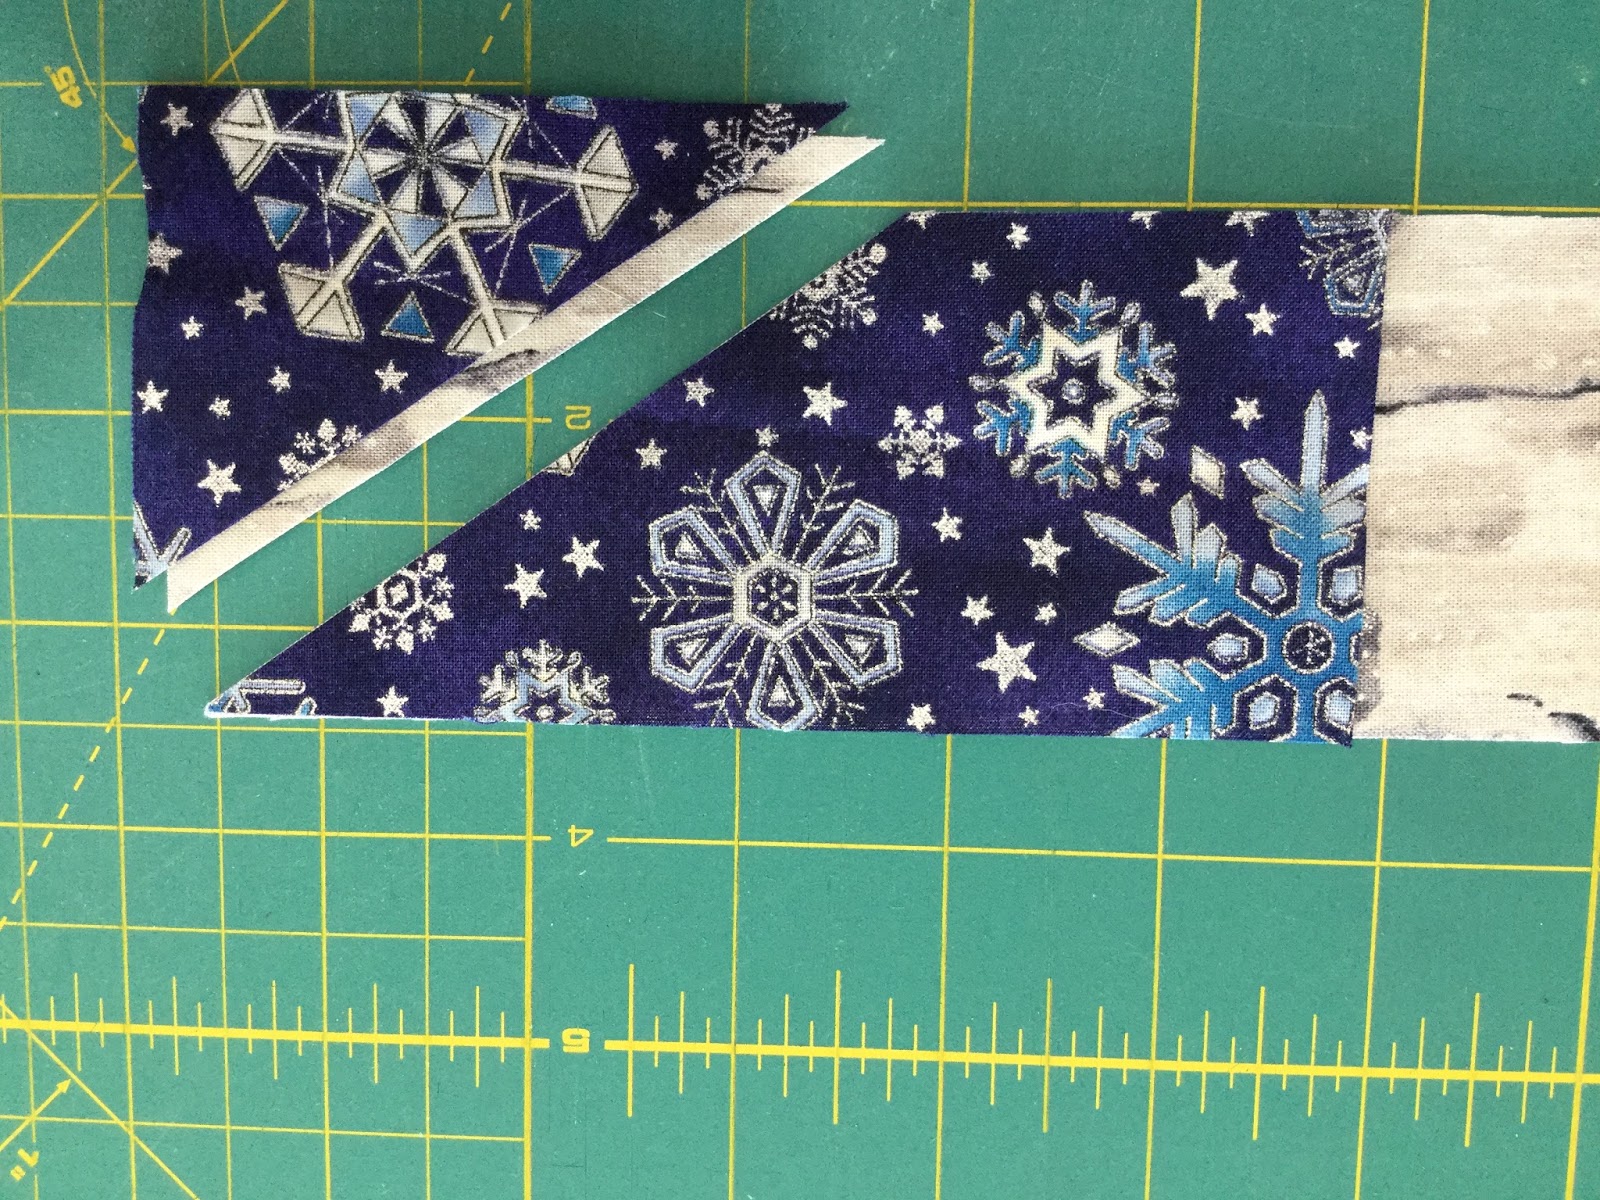
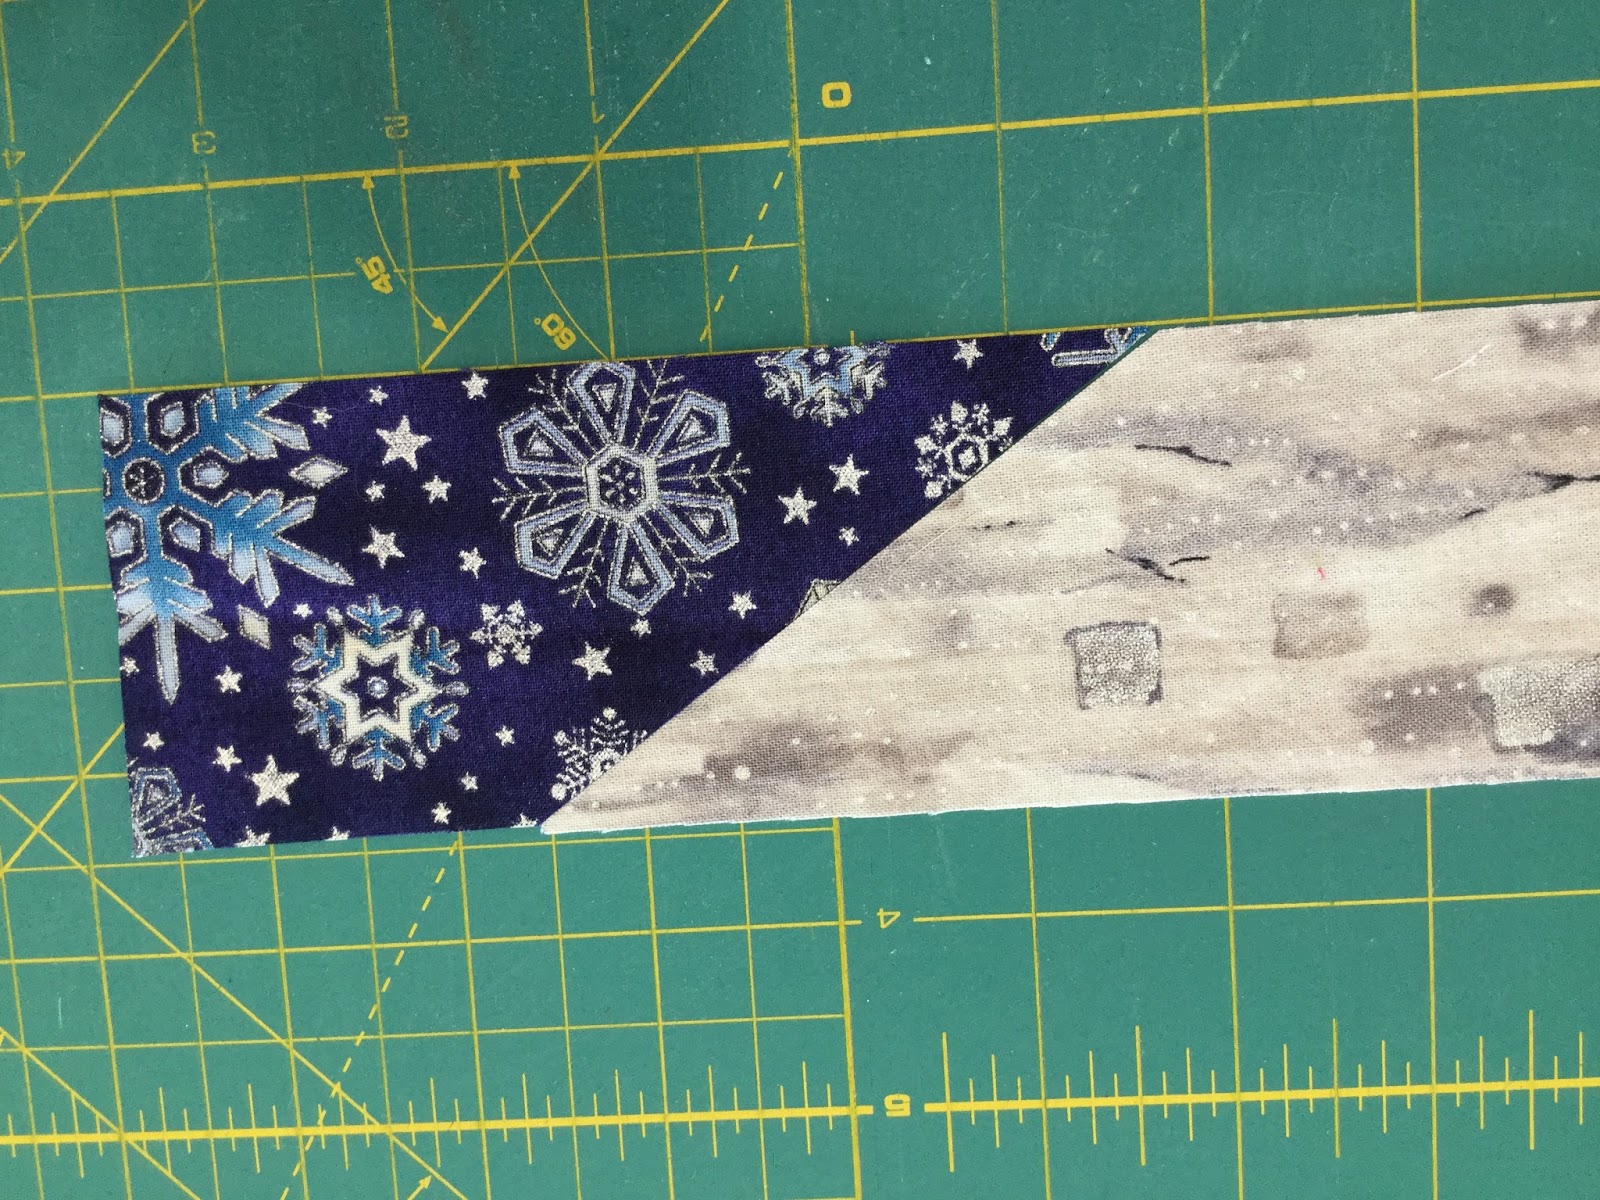
The back is pieced for
Sunrise Abstraction.
Tips, Thoughts and Techniques:

Teachers, especially quilting teachers, have been on my mind this week. One of the reasons for this is following the SAQA forum discussion that has resulted from a teacher seeking advice on how to handle travel, especially air travel, when she needs to bring a trunk show, handouts, merchandise for sale, and projection equipment. She received excellent advice. What I appreciated as much as the advice were the behind the scene stories. No matter the trials the teachers endured, they were unanimous as to why they put up with the inconvenience and hardships - the students.

I did my share of teaching quilting a decade ago. I am in agreement, I taught because I enjoyed the excitement of watching those eureka moments when a student would suddenly "get it." 

This is the front side of Sunrise Abstraction
the way it looked last week. 
Technology has been changing the world for show teachers teach and how students can learn. There are many fabulous teachers who teach online, especially through Craftsy. If you hunt around there are other online platforms that provide classes and you can scroll through the offerings and select a course that fits your schedule, budget and precisely what you want to learn next. I've just signed up for Art on an iPad, taught by Susie Monday. It begins on April 11th. I chose this class for several reasons, but the primary one is that the art is focused on designing and printing fabric. This is something I have wanted to try my hand at for a while. There is still room if you want to join in the fun. Just like Craftsy classes you will have access to this course as long as it stays online should you need to refer back to it. 

I've mentioned Leah Day frequently on my blog. She is a Craftsy teacher. She also has over 450 free motion designs that she demos in individual videos linked to her site. I thought I had pretty much learned all there is to know about free motion quilting, but today I picked up a new tip from Leah that I have never seen before, if your thread is breaking and the usual tension, cleaning, new needle, de-spooling, etc. aren't working, it could be the direction you are quilting. Machines are designed to stitch forward and handle side to side stitching (think satin stitch and zigzag). They may not be designed to stitch in reverse for more than a few stitches. So, if you are quilting a long line of stitches and the thread is breaking, you may want to shift the position of the quilt so that you are stitching forward and see if that won't fix the problem.

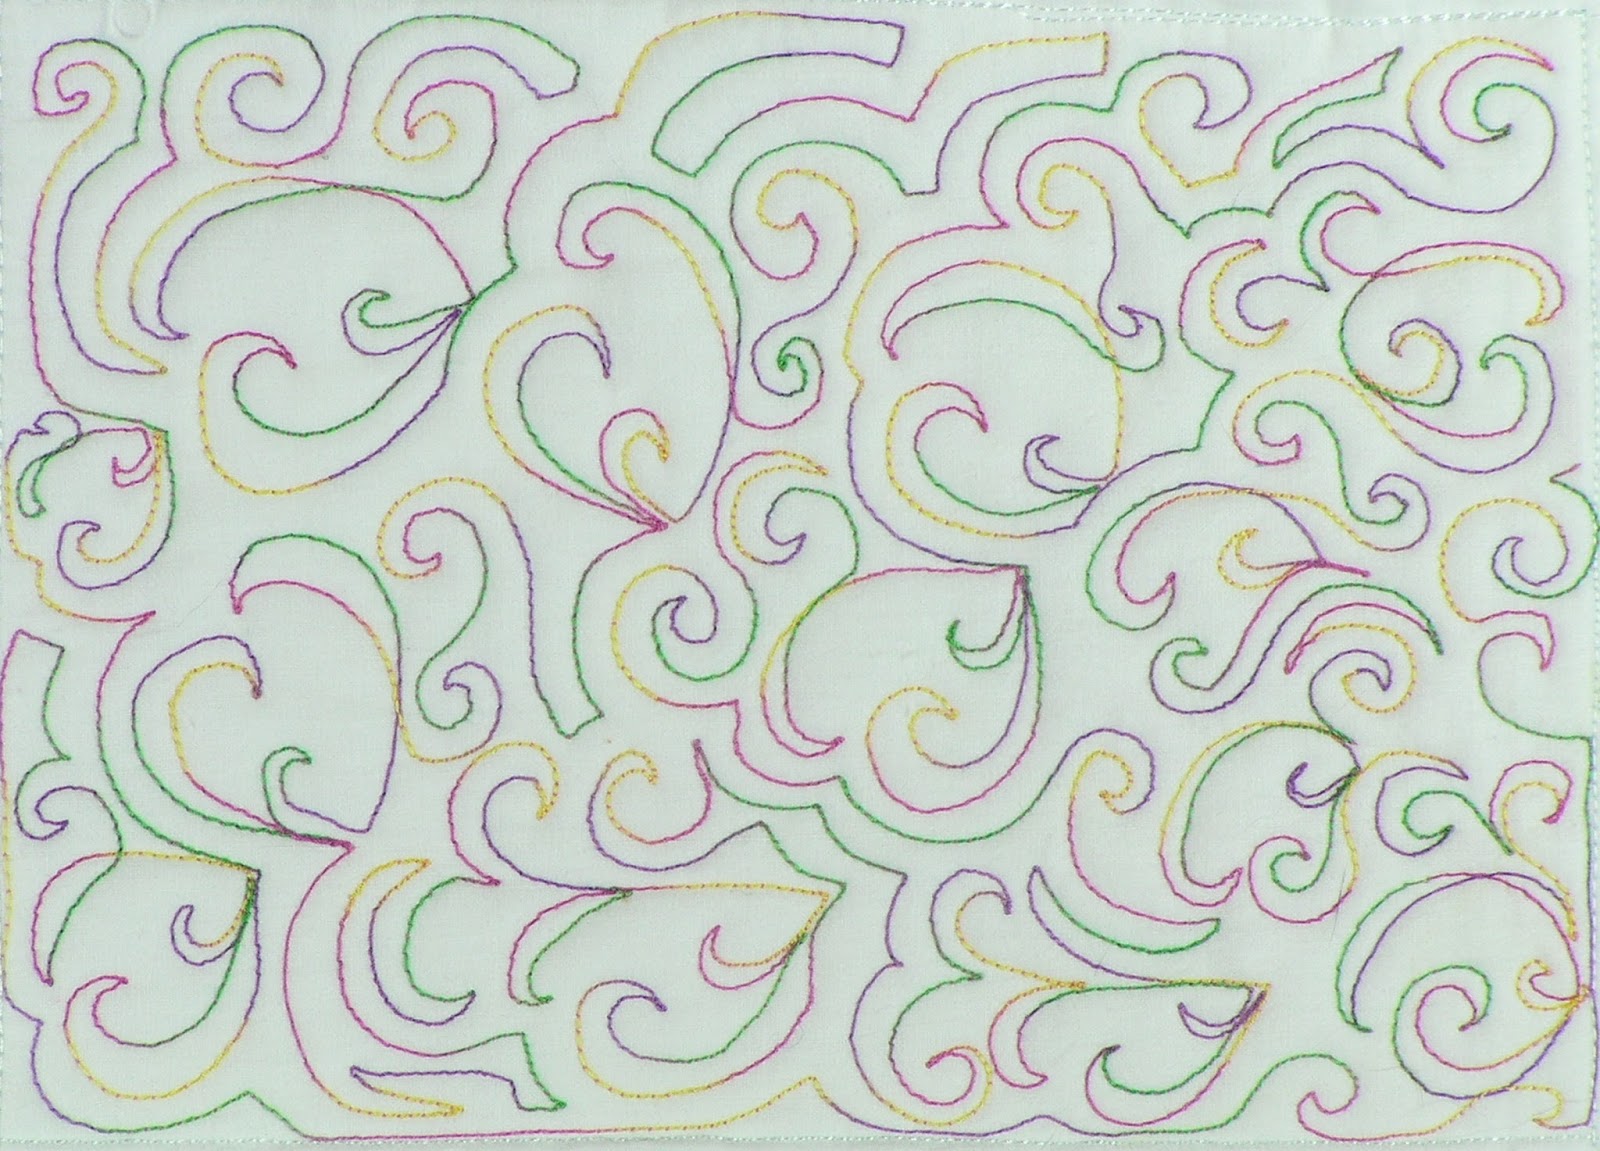
I opted to stitch out this feather variation
to practice my free motion quilting this week.
I've been in teacher, or more precisely lecturer mode for much of this week. I will be part of three person panel presentation at the SAQA Conference in Philadelphia next week. Our topic is "Exhibitions: Expanding in Multiple Dimensions." I've been reviewing and tweaking slides as well practicing, practicing and practicing what I am going to say. This took me out of the studio, but as you can see I did manage to spend a few hours, just not my typical 20 hours or so in the studio this week.

1)  Finish Reflection #2  - Create and attach the label either when needed or when I have a second label to print at the same time. - Still on hold.


2) Work on Sunrise Abstraction - Done!

I had fun going through my stash hunting down the best backing fabric for Sunrise Abstraction. I had several fabrics that could be used for a whole cloth back. I could have dyed a piece to match, but I decided to use what I have on hand. 

3) Free motion quilting practice - Done!

I turned to Tracy of Whirls 'n Swirls again for inspiration for a free motion quilting design to practice with. I thought this two side feather motif looked fun. Unlike most feather designs this doesn't require a stem.

4) Do some surface design work - Done, sort of


I spent a few hours doing the technological prep class for Art on an iPad. Since I am a true neophyte when it comes to using my iPad for anything more than email, streaming my favorite radio station and doing FaceTime with my grandchildren, I felt this "bonus" lesson was an absolute necessity. This way when the class starts I can focus on creating the art and not how to navigate my iPad. At least that is my plan.

5) Beware of when I find myself shutting down and find a way to stay open - Done

I am very fortunate to have someone to help me create the Power Point slides necessary to provide visuals for the SAQA Conference presentation. It is a huge undertaking, especially hunting down the facts and images that were required. I was ready to start practicing, but I didn't have the final presentation to practice with. So, I didn't practice. In other words I found an excuse to shut down. However, after realizing what I was doing, it occurred to me that I could at least practice the portion of the presentation that  was complete. That is precisely what I did. Paradigm shift - it wasn't waiting for the work to get done that was impeding my ability to practice, it was me thinking that having a completed presentation was a necessity to do so. Now the Power Point presentation is set and so am I.

I won't be writing my posts for several weeks, since I will be away from my studio. When I return here is what I plan on tackling:

1)  Finish Reflection #2  - Create and attach the label either when needed or when I have a second label to print at the same time.


2) Work on Sunrise Abstraction

3) Free motion quilting practice

4) Do some surface design work


5) Beware of when I find myself shutting down and find a way to stay open


I am now linking up to two blogs on Fridays. The first is Nina Marie's Off the Wall Fridays and the second is Free Motion Mavericks.

Friday, March 18, 2016

Week in Review 2016 - 03/18


Tip, Thoughts and Techniques:

Sunrise Abstraction
Each Friday as I prepare to sit down and write my post various ideas for how to begin, what to focus on, or points to make drift through my stream of conscientiousness. Eventually I have a plan. 99% of the time when I settle in front of the computer with the ideas still swirling in my head what come out has little to do with what I thought I would write about. So, is the case for today.

I had thought I would write about the natural arch of making a piece of art; how I go from "you're a genius, Gwyned" to "not so bad" and then where I was yesterday with Sunrise Abstraction, "this has been a waste of my time. why do I even bother?" What I discovered, as I prepared the photos is I do know why I bother and Sunrise Abstraction isn't as horrendous as it had first seemed. 

Feeling the Love is my free motion quilting practice
this week. The pattern comes from Whirls 'n Swirls.
How did I get out of my funk? Two ways. One, I journal first thing in the morning. This is a great way to catch the muse's whisperings. I found myself brainstorming various ways I might quilt Sunrise Abstraction. This gave me a fresh start. In other words it brought me back to place of "genius" so I could feel excited about the piece again. Two, Just because one piece isn't coming together doesn't mean I have made zero advancement in my art. I'm very pleased by how something as simple as stamping my dye painted fabric brought new depth and light to the piece.

This is the right side of the swamp fabric that I created
by painting PFD Kona cotton. The dye does seep
to the back, but not as saturated as on the front.
Seems I have managed to stay OPEN (this year's word) once again. I have stayed open to seeing Sunrise Abstraction in a new way. I have stayed open to trying a new surface design technique (more later) and to modifying a fabric I had already created. Not a bad week after all.

Here is the work that I managed last week:

1)  Finish Reflection #2  - Create and attach the label either when needed or when I have a second label to print at the same time. - Still on hold

2) Work on Sunrise Abstraction - Done! 


I continued to working on piecing, adding a few more strips to the water, creating the sky and then assembling the three sections (sky, sunrise, and water) together. 

3) Free motion quilting practice - Done!

I chose another Whirls 'n Swirls design to practice with. I've decided to call it Feeling the Love. I am not sure what Tracy calls it. I'm so pleased that Tracy has decided to come up with another year of free motion quiltings motifs to practice with. She has her own twist on FMQ with barbs, hooks and ways to maneuver around the canvas that I am ever so slowly beginning to grasp and make part of my muscle memory.
4 Do some surface design work - Done!

If it looks as if the fabric is in reverse now, that is
because it is. I opted to stamp the backside. I liked
the way there were several thin streaks where the dye
didn't permeate and also the navy blue was ever
so slightly less harsh juxtaposed against the yellow.
By stamping the navy with a mid-value green that
has a glimmer of a tint to it, the result is a more of a
realistic landscape. My husband, who photographed
the piece last night declared it "eerie." 
What a difference layering of surface designs can make. I learned this in 2014 when I spent the year doing all of LifeBook 2014's mixed media assignments. Now I am applying what I learned to do on watercolor paper to fabric. 

I knew the value differential on my swamp fabric was too much of a leap. So, when I was selecting a fabric to try out my new moldable foam stamps on I grabbed the swamp fabric. I selected a pea, leaning towards chartreuse green acrylic paint, mixed it with textile medium and started stamping. I noticed several things. One, the stamps were not flat, they were convex after being molded, so getting a clear image wasn't working. Two, the paint was transparent, so the navy blue and paint created a secondary color except where there were paint globules. Even though the effect I achieved wasn't what I expected, I really, really liked how it came out. I've named the piece Bayou and am thinking it will make an excellent small (12" x 12") whole cloth quilt. I might even wrap it around stretcher bars since the fabric is close to 15" x 15".

5) Beware of when I find myself shutting down and find a way to stay open - Done!

The trick will be to maintain my forward momentum as I approach next week's work which is likely to be:

1)  Finish Reflection #2  - Create and attach the label either when needed or when I have a second label to print at the same time.

2) Work on Sunrise Abstraction

3) Free motion quilting practice

4 Do some surface design work

5) Beware of when I find myself shutting down and find a way to stay open

I am now linking up to two blogs on Fridays. The first is Nina Marie's Off the Wall Fridays and the second is Free Motion Mavericks.

Friday, March 4, 2016

Tutorial - How to Seam Two End to End Strips - The No Pins or Notches Method

For years I have struggled to seam two end to end strips together at any angle so that when I opened the seam I could guarantee that I would have one continuous strip versus one strip higher than the other. Recently I stumbled upon a way to do this that is so simple I am surprised I haven't seen it anywhere else. 

Two strips end to end before seaming them together.
Place one strip on top of the other with both right sides up.
Note how the two ends are even on the left side.
You could line up the fabric on the right side. It is the same principle.


Place a straight edge or ruler at any, yes that is ANY angle
that you want the seam to be. You waste the least amount of
fabric if the ruler/cut begins either at the lower or upper
corner. Once again this is your preference as to which
direction (climbing up a mountain or climbing down a mountain)
you want to achieve.

Cut alongside the ruler. You can save the trim for snippets or
even for joining later if you choose.

Now rotate the top fabric 180 degrees. This gives you a sneak
peek of how the fabrics will look seamed together.

It doesn't matter which of the two fabrics you mark. Personally,
I  select the fabric I can see the marking on. Turn that
fabric upside down so that the wrong side is facing up. Line up
the ruler at the 1/4" mark. This is the seam line.

You can mark the whole seam line or just a dash where the seam
starts and ends as I have done. However, if you don't mark the full
seam line you do need a 1/4" foot or guide on your sewing machine
to ensure an accurate seam.

Here is the magic. Lay the strips together, right side to right
side so that the cut edges line up, BUT don't forget to slide
them to create "ears" at each end. You know you have positioned
everything correctly if the seam line mark is exactly at the two notches
where the top fabric meets the lower fabric.

Use a 1/4" seam to sew the two fabrics together.

I always press my seams open. This produces a flatter
quilt and makes free motion quilting easier.

Turn the fabric over so that the right side is up.
Press one more time for good measure. Then admire your work!